 AIImageInsight
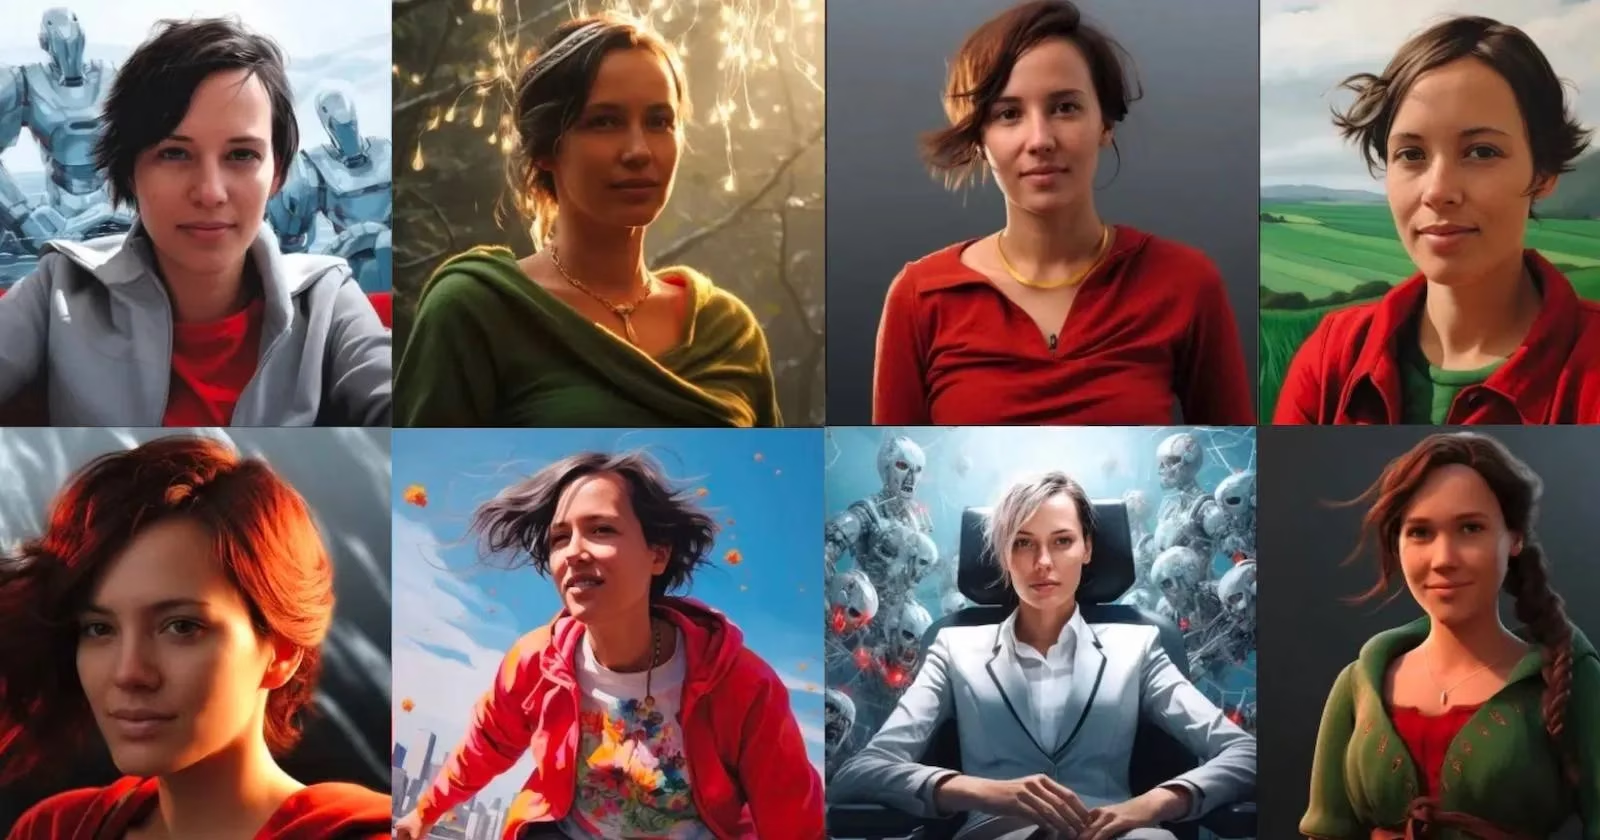
When I first started making AI self-portraits in Midjourney, I thought it would feel like applying a filter, but it is much stranger and more interesting than that. In 2026, the tools are refined, and I can take one personal photo and reimagine it as an oil painting, a 3D render, a futuristic office worker, or an elf in a forest. The workflow is surprisingly simple, but a few settings make the difference between a generic result and something that feels like me.
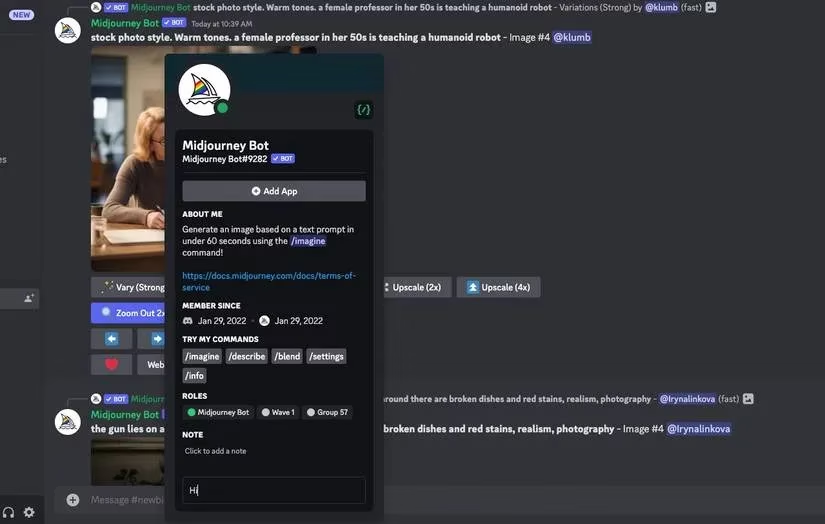
I always start with a private chat because I am about to upload a personal image. Public channels feel too exposed. In Discord, I navigate to any #newbie or #general channel, click the Midjourney Bot name, type Hi, and press Enter. That opens a direct message window where only I can see the prompts and images.
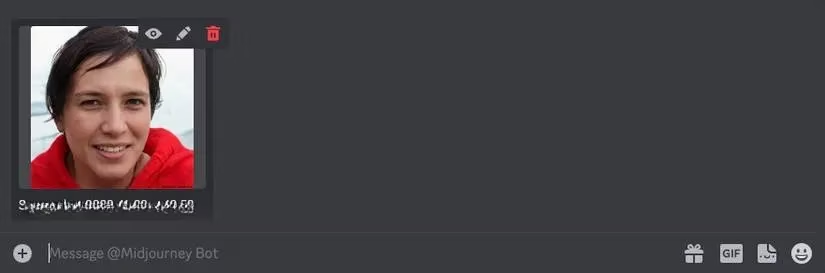
Next, I upload the reference image. I can drag it from my computer into the message box or click the plus symbol to find it. After the image uploads, I right-click it and select Copy Link. For testing, I sometimes use a synthetic face from a site like This Person Does Not Exist, so I am not using my own photo while I practice.
The basic prompt structure is simple:
/imagine prompt [image URL] [prompt]
I replace [image URL] with the link I copied, then describe the scene. At minimum, I mention a person. For example, I might write An elven woman standing in a misty forest, soft light, detailed foliage, fantasy art. The first time I paste the link it is very long, but after I hit Enter, Midjourney shortens it, and I can reuse the shortened version.

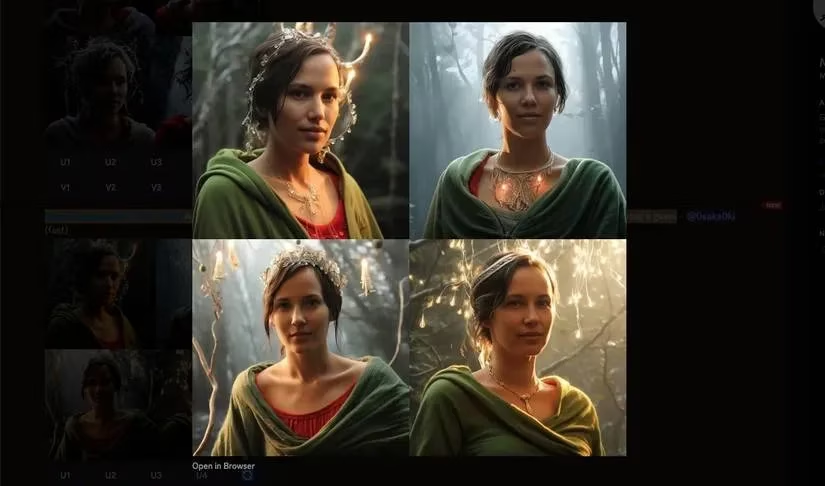
Once I have a base image, I experiment with parameters. I add these at the end of the prompt.
The --iw parameter, short for image weight, controls how strongly the model relies on my reference image versus my text description. A low value, like --iw 0.5, lets the text prompt dominate. A high value, like --iw 1.5, pulls the result closer to the uploaded photo. The default is 1.
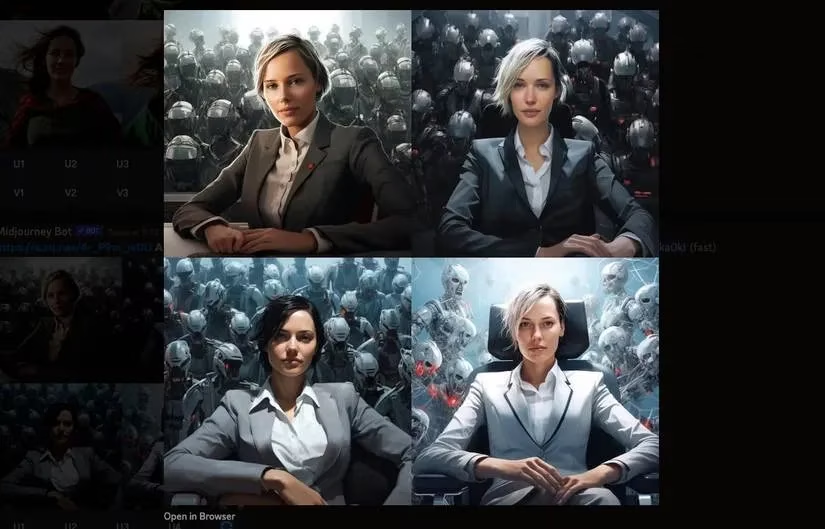
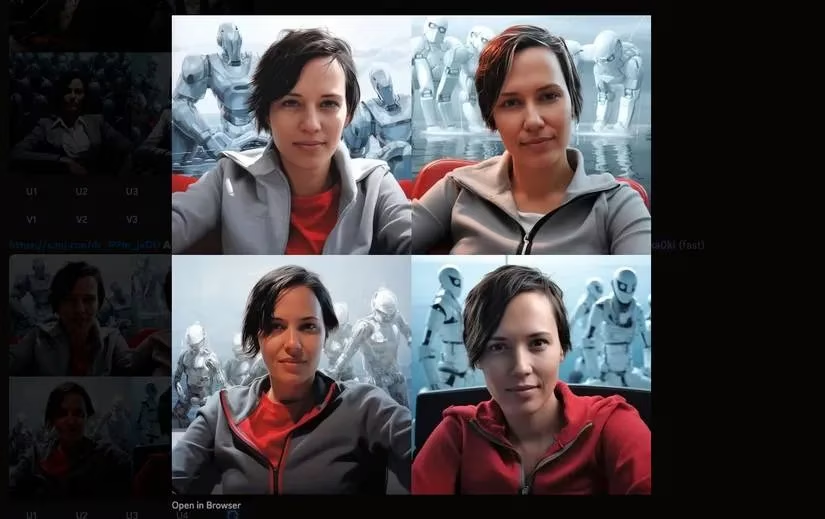
I also like --style raw because Midjourney tends to add a lot of automatic beautification. That can look cinematic, but it sometimes makes faces feel too smooth or unreal. Adding --style raw removes some of that polish and keeps the result closer to the style I actually requested. The difference is subtle but important.
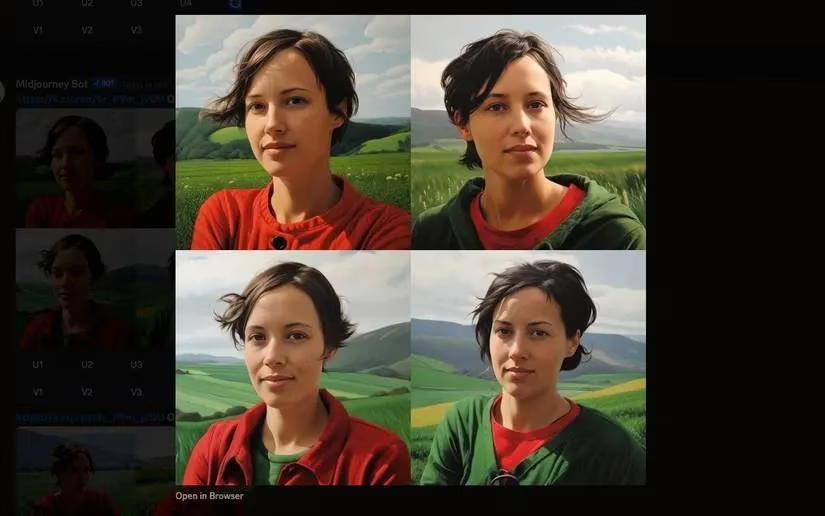
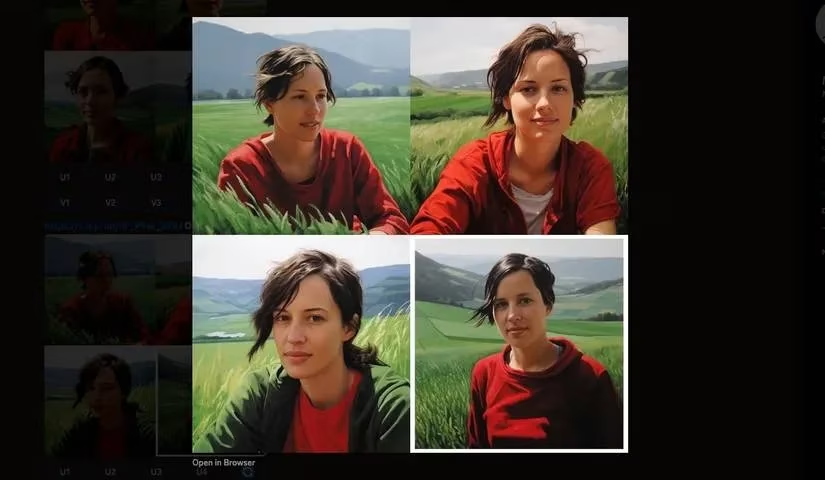
Then there is the wonderfully odd --weird parameter. According to the Midjourney manual, it introduces quirky and offbeat qualities. The default is 0, and the maximum is 3000. A touch of weirdness often produces more unique self-portraits instead of another generically beautiful face.
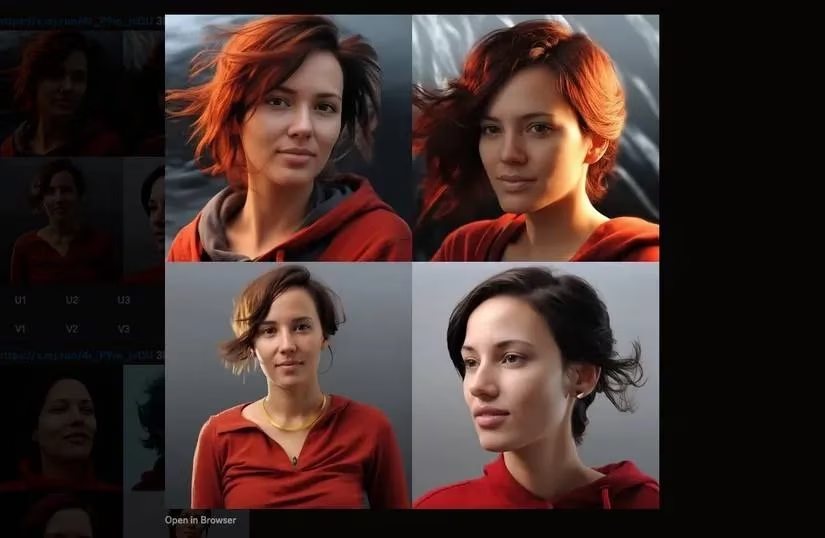
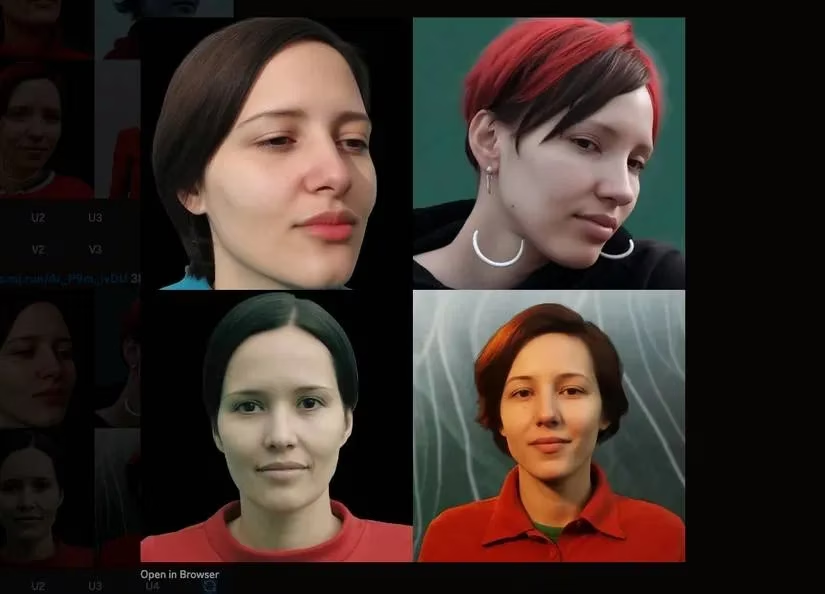
Here is a quick reference table I keep in mind:
| Parameter | What it does | Range / default |
|---|---|---|
--iw |
Controls image weight versus text weight | 0–2, default 1 |
--style raw |
Reduces automatic beautification | optional flag |
--weird |
Adds quirky, offbeat qualities | 0–3000, default 0 |
--ar |
Sets aspect ratio | e.g. 2:3, 4:5 |
I also adjust aspect ratio because the default 1:1 square works well for social media, but classic portrait framing often looks better. I add --ar 4:5 or --ar 2:3 to create a more traditional portrait crop. This also gives me more options for printing or using the image as a desktop background.
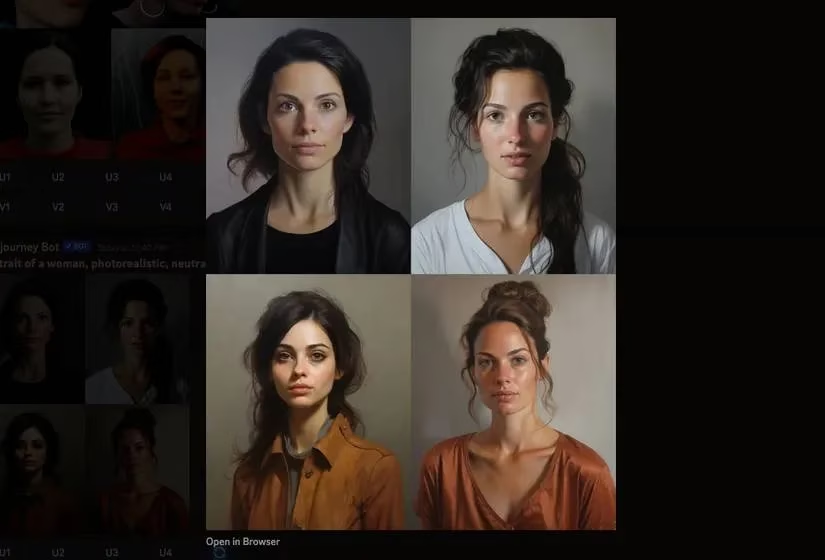
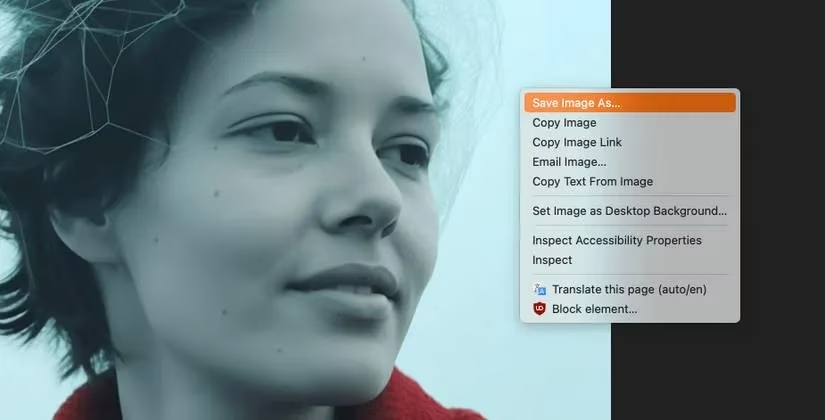
When I find a result I like, I upscale it. Below the four generated images, I click the U button for the one I want. The image reappears on its own, and then I click the Upscale (4x) button. After processing, I click the image to preview it, choose Open in Browser, right-click, and select Save Image As.
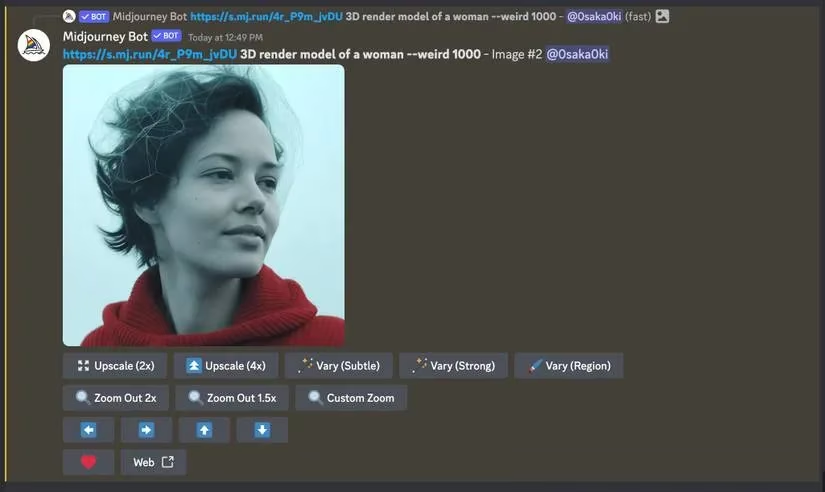
By the end, I have a fresh AI self-portrait that can serve as a profile picture or a private avatar. I also use these images to protect my privacy on public accounts: the AI version resembles me, but my real photographs stay reserved for close friends and family. The whole process is part art direction, part self-exploration, and I keep coming back because every prompt feels like stepping into a different version of myself. It feels like character creation in a game, except the character is me.
Comments